Hold Back the Night

 The winter months needn’t be a dampener on your photographic endeavours – far from it – they offer some of the best, and most varied, shooting conditions of the year. All you really need to cash-in on this golden opportunity is a few simple techniques, some warm clothing and a positive mental attitude (PMA).
Gear
- Tripod, cable release (or use the 2 second self-timer),
- Torch,
- Warm clothes,
- Phone with a star map app which can either double as a torch – just in case.
Top Tips
OK, here we go with some of the things that will help you to capture fantastic night time shots.
 It helps if you have visited your chosen location in the daylight. If you are just starting with low light pick a location that you know well to get you going. If you are able to set-up at dusk while there is still some daylight – even better. Even so things can be dis-orientating in the dark so prepare! Take a torch with fresh batteries. Make sure that you have a spare camera battery. Nothing kills the batteries like live view or the cold and I always wear more clothes than I think I will need. It’s one thing being out on a cold night for a couple of hours, but doing it standing still…..and you’ll feel the chill go much deeper into your body without enough warm gear. Plus, you can always shed a layer if you are too hot. This is a real issue and one where your PMA will come in. It is very easy to get demoralised and fed up when you are very cold – so think positively and stay motivated – it’ll pay off for you.
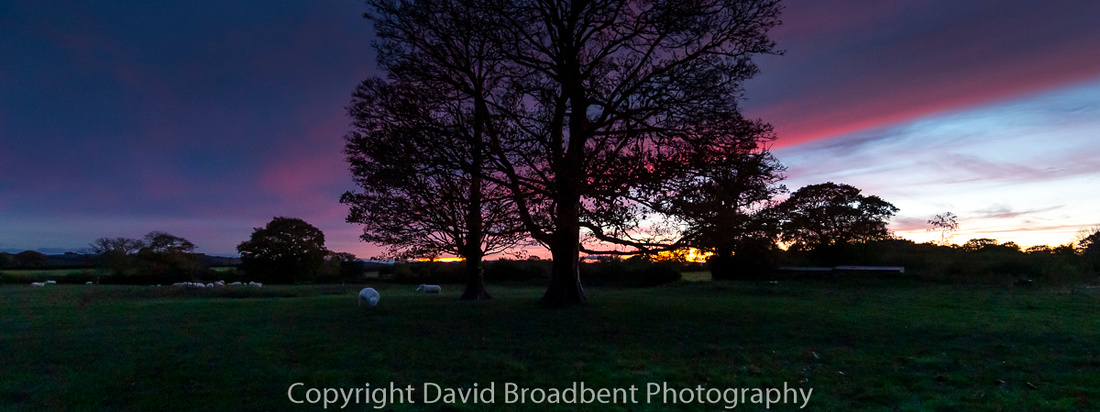
Your camera meter is going to have a much harder job getting an accurate light reading in low light so your default position should be not to rely upon it too heavily. Switch to manual or be prepared to race up and down the exposure compensation dial in Program, Aperture or Shutter priority modes. Always think of the first few shots as “tests” used to refine your camera settings for a picture that looks about right on the rear screen – whatever the camera warnings are telling you. Dependent on your chosen location you may have ambient street lighting of different sources as well as the night light. Often in wide angle views you’ll also get an orange glow from nearby cities – the Bristol “glow” shows as an orangey hue.
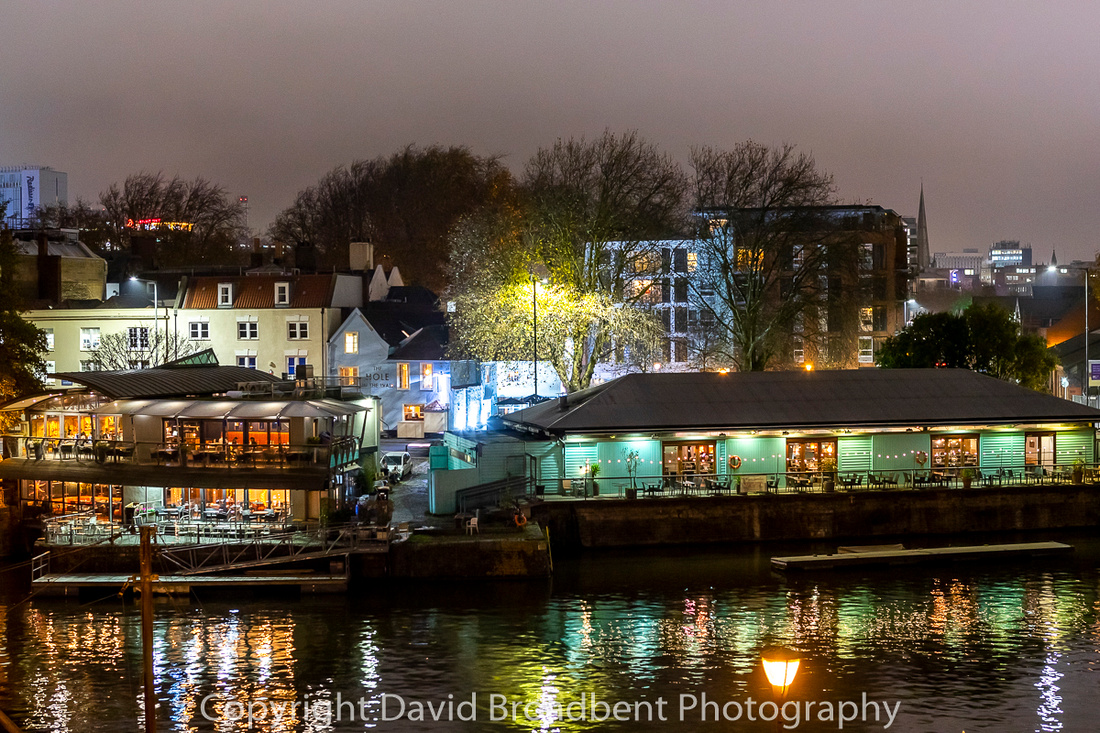
In urban landscapes it’s generally easy to focus on your subject (or something the same distance away) but, your cameras auto focus will start to let you down as the light levels drop out in the countryside. Pretty soon it won’t work at all! So, setting your point of focus before dark, illuminating a foreground point of focus with your torch or using the lens distance scale (if your lens has one) are all more reliable than the auto focus system in very dark environments.
I have a grid graphic that maps the different settings for different locations. Broadly speaking the brighter the light, the lower the ISO. Well-lit urban scenes or the moon, go for low. With a sturdy tripod or rock-solid shooting position go for ISO 200, 400 or 800 for maximum quality. For the night sky, you’ll want to push the ISO in order to cap your shutter speed at 20 seconds – unless – you want star trails (where stars appear as lines rather than dots).
Here is where your in-camera (noise reduction) NR and high ISO noise reduction settings, if you have one, really come into their own. All sensors suffer from electronic noise which can make the image look grainy and speckled with tiny points of colour. Long exposures and very high ISO’s bother suffer from this noise. The in-camera mode does a good job on long exposure shots but the price is that the image will take longer to process (generally as long as the shutter speed) delaying your next shot.
Shooting the moon
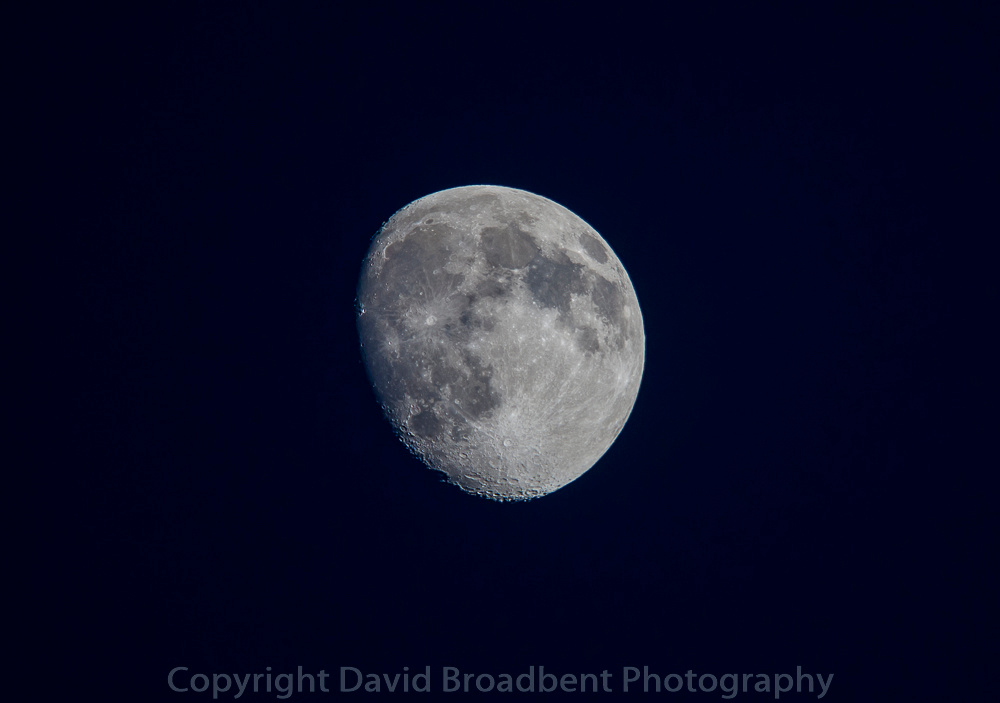
You’ll be amazed just how reflective the moon is once you start to take camera light meter readings of it. The single most common problem I find is that the moon comes out over exposed and white (due to the above). This can be a combination of factors; you have to meter just for the moon and take a test shot to adjust for your final shot. Try to exclude as much sky as possible (by zooming in to get a reading first on the half press) to get an accurate reading. Alternatively try shooting the moon before dark. The day before a full moon, it always rises in the daytime and is almost indistinguishable from the full phase. The moons reflectiveness, comparative to the rest of the sky, even at dusk will make any sky look darker in the image. Send us your best moon image or top tips.
Other great night time subjects
- Fairgrounds and fairground rides
- Light painting with torches and sparklers
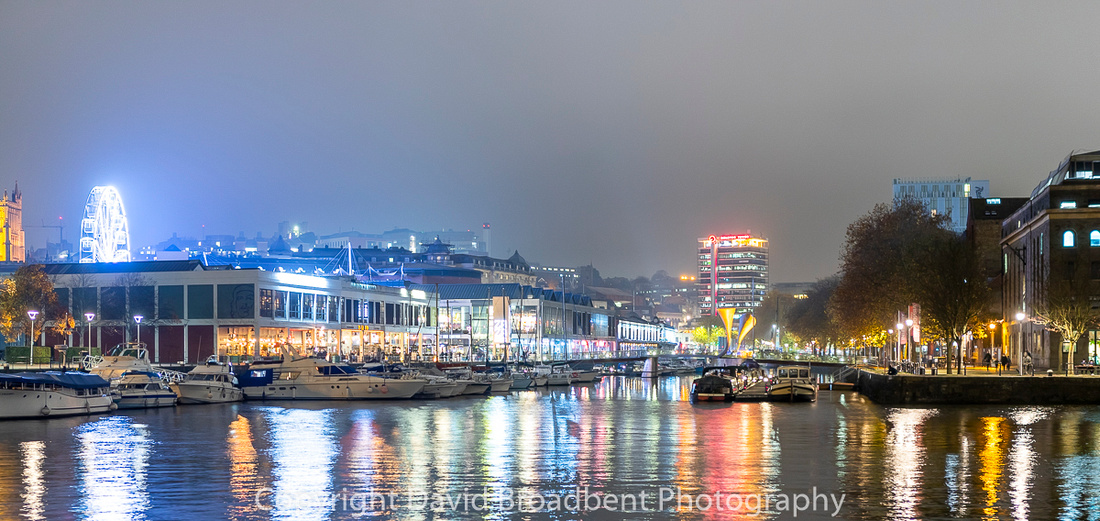
- Landscapes and city scenes
- Time lapses
- Starscapes
In the autumn we run night sky courses with our friends at Humble by Nature. During the rest of the year why not try a dark skies and low light one 2 one photo class with Forest of Dean & Wye Valley School of Photography at an introductory price of £45 (t&c apply) or join a photographer group via Facebook or Flickr in which everyone can feel a little safer together.
If you’d like to give a course as a gift Gift Voucher.